")
1. How to create a post
First time at here? Let me show you around and talk you through the basic steps of creating a post with Contentdrips.
Choosing a template
First click on https://contentdrips.com/templates
This will take you to the templates page where you can choose from the many different templates available on Contentdrips.
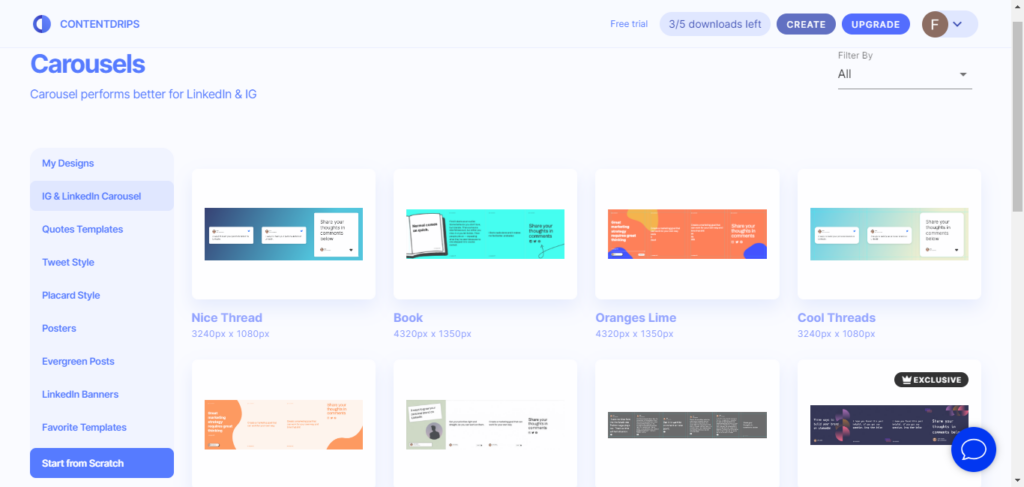
After clicking on a template, It will take you to the editor page. Where you can customize your post.
or Start from scratch
If you select the “start from scratch” option,
It will take you the canvas size options, where you can choose from the pre-made template sizes or a custom size of your choice.
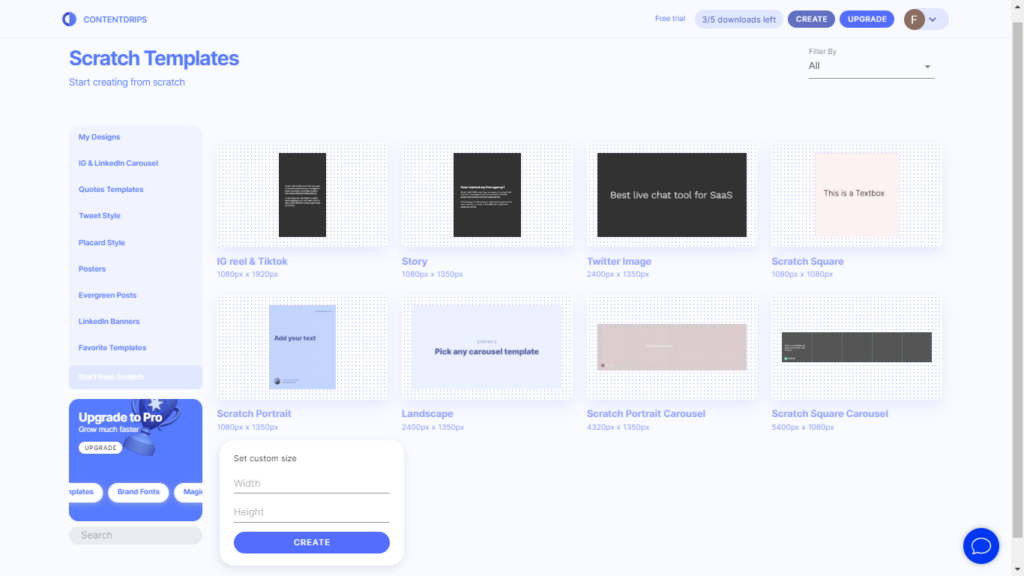
After clicking on the canvas size that you want. It will take you to the editor page. Here you can customize your post to your liking.
2. How to add text
To add texts to your post, simply click on the “Texts” button on the toolbar at the bottom left of the screen.
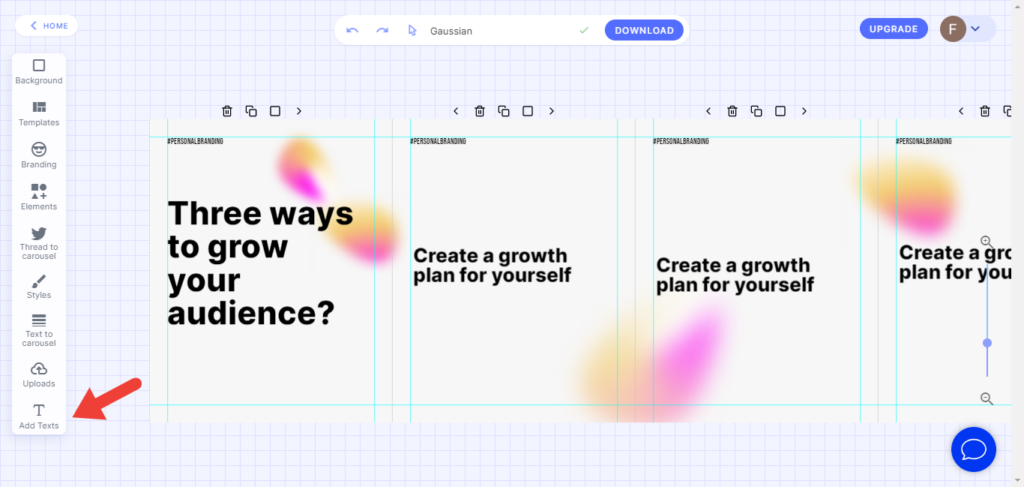
Click on the type of text you want to add to your post and it will show up by itself on the canvas.
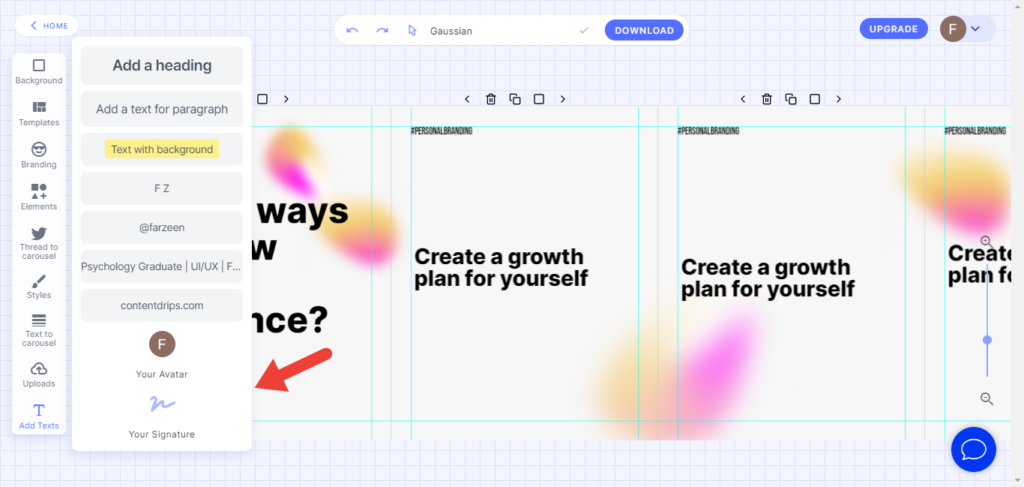
You can also add your name, handle, bio, website, your avatar and even your signature. Contentdrips can store and remember it for next time.
Note: You will need a Contentdrips account.
3. How to add an image
To add images to your post, click on the “Uploads” button on the toolbar on the left of the screen.
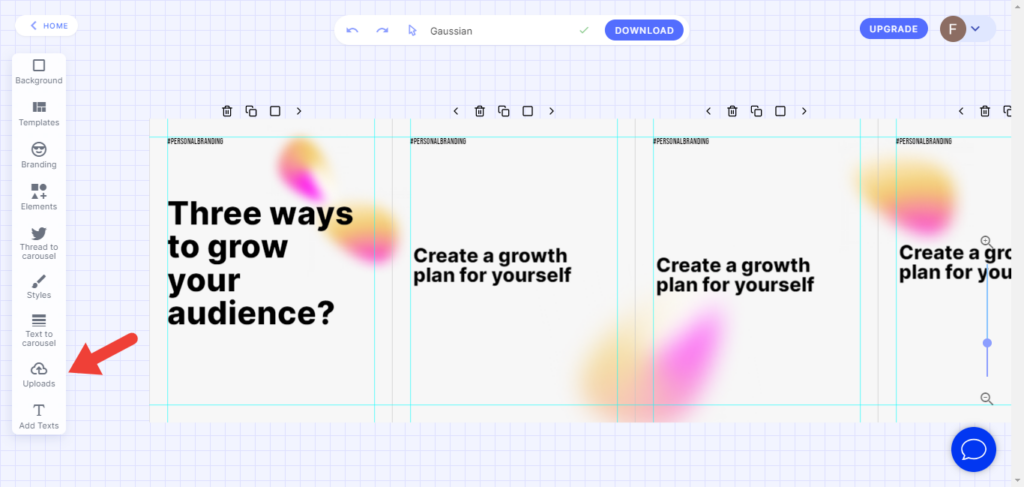
Click on “Upload a file” and upload the image you want to add to your post, after the image appears, just click on it and it will appear on the canvas.
The image must be a file of type: jpg, jpeg, png.
4. Slides
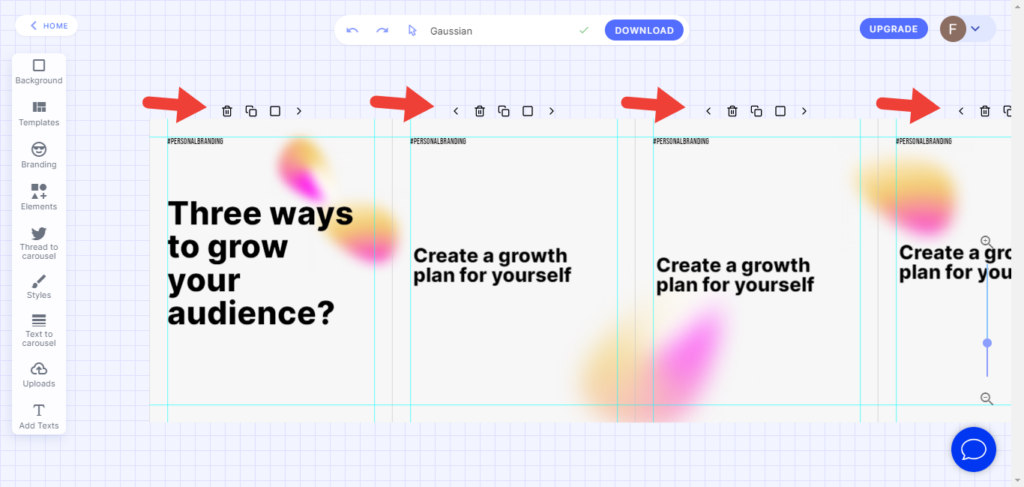
How to remove a slide
To remove a slide, click on the delete icon on top of the slide you want to delete.
How to add a slide
To add a slide, click on the duplicate icon on top of the slide where you want to add another slide.
How to move a slide
You can move any slide to the right or left, by clicking on the right and left arrows on top of the slide you want to move.
5. Adding elements and other customizations
1. You can add icons, badges, shapes, frames etc. from the “Elements” option on the toolbar
2. You can add your twitter profile information, branding colors and fonts from the “Branding” option from the toolbar.
3. Change the color, randomize fonts and customize the background from the “Background” option.
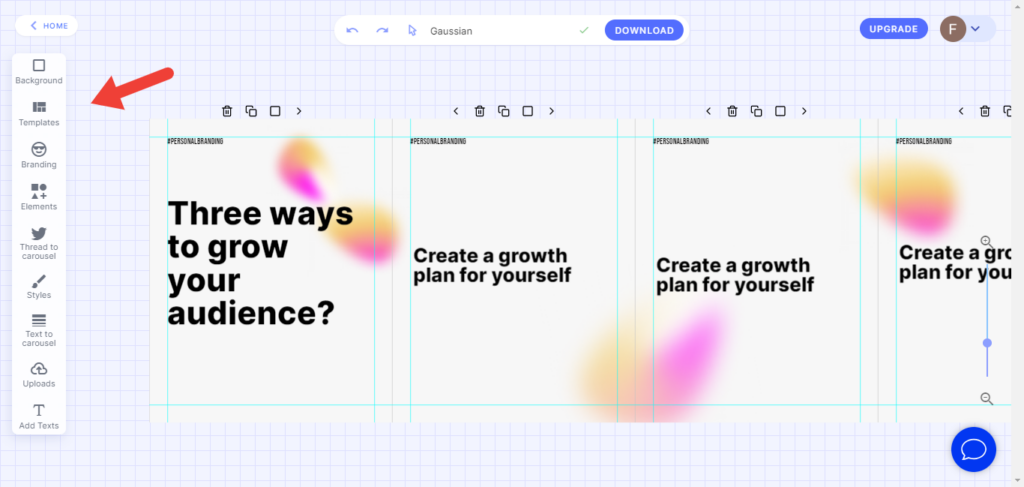
4. Change templates from the “Templates” option.
5. Change the color and the font from the “Styles” option.
All these tools are located on the toolbar at the left side of the screen.