")
Ever wish you could automatically turn your blog posts into eye-catching carousels for social media? Or maybe you want to create weekly tip carousels without lifting a finger? Well, that’s exactly what you can do with our ContentDrips Zapier app.
Let’s keep this simple and show you how to set up some cool automations that’ll save you tons of time.
What Our Zapier App Does
Our Zapier integration basically takes any data you throw at it and turns it into beautiful carousels using your ContentDrips templates. Here’s what it can do:
- Auto-generate carousels from spreadsheets, RSS feeds, forms, or pretty much any data source
- Two ways to set it up: Quick mode (super easy) or Advanced mode (for when you want to get fancy)
- Update text and images automatically based on your data
- Keep your branding consistent across all carousels
- Output as PNG or PDF – whatever works for your platform
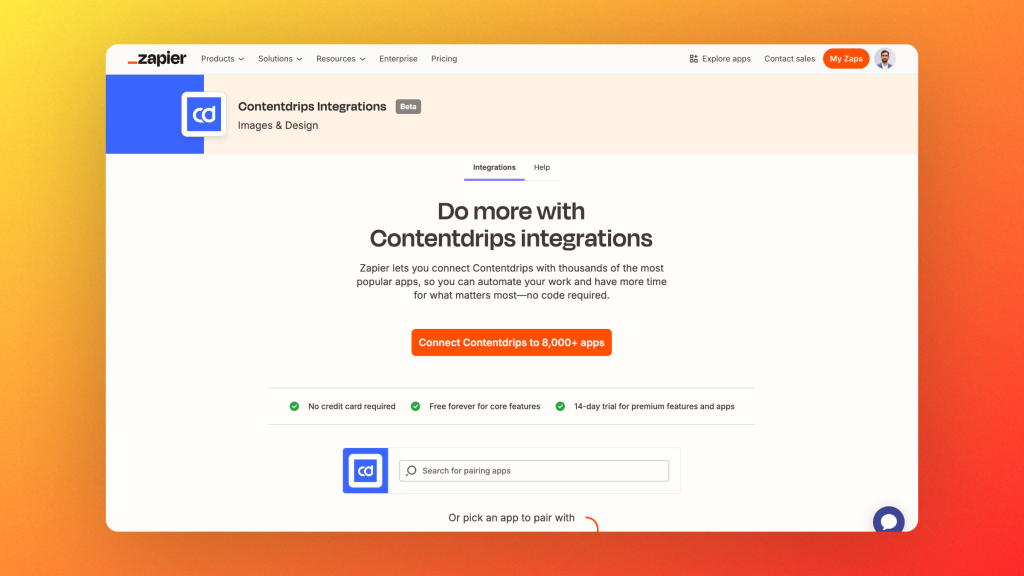
You can find our app in the Zapier directory:
ContentDrips on Zapier
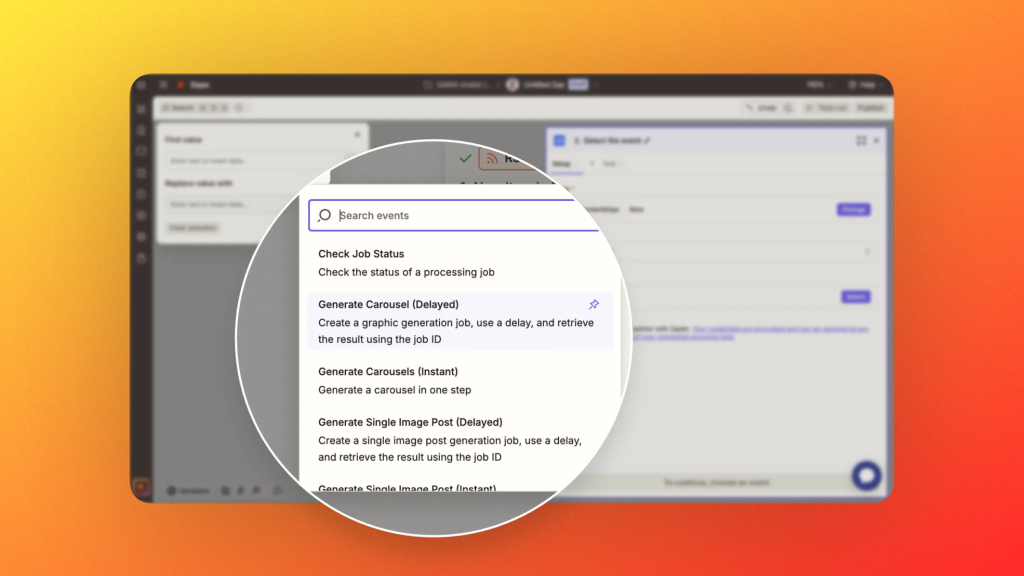
We’ve got a few different actions depending on what you need:
- Generate Carousel (Async) – for complex stuff that takes a bit to process
- Generate Carousel (Sync) – instant results for simpler designs
- Generate Static Graphic – single images
- Check Job Status and Get Job Result – to track your generations
Finding Your Template ID
First things first – you need to grab your template ID from ContentDrips:
- Go to app.contentdrips.com
- Open the template you want to use
- Look at the URL – it’ll look like this:
https://app.contentdrips.com/canvas?template=148872- That number at the end (148872) is your Template ID
Easy, right?
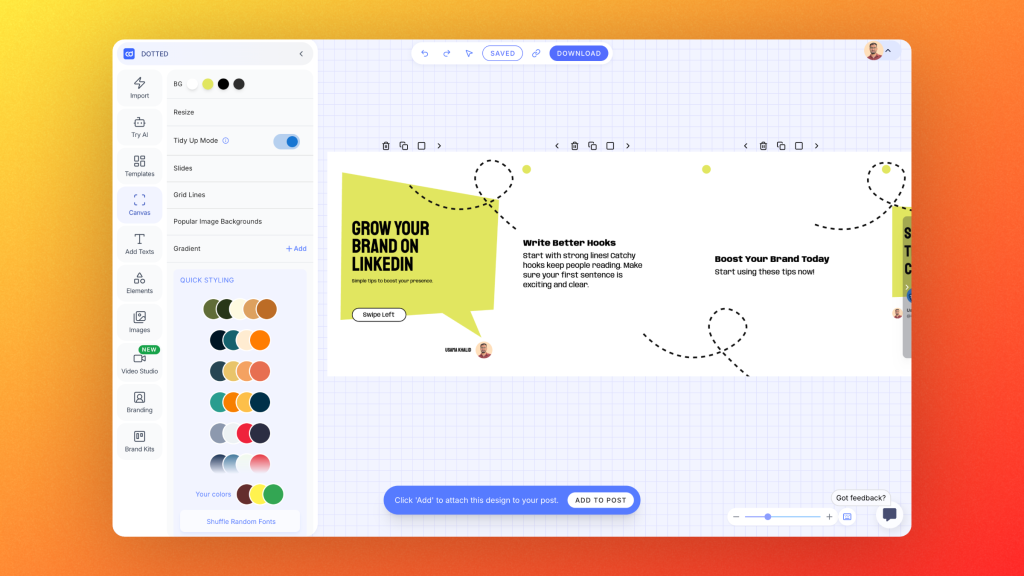
Setting Up Your Template
Before you automate, make sure your template is ready:
Label your textboxes properly:
- Right-click any textbox → hover over “Label” → give it a name like
heading,description, etc. - If you have images, label them as
image - Keep the labels simple and consistent across slides
Template structure:
- Intro slide (optional)
- Content slides (as many as you need)
- Ending slide (optional)
Watch this video to learn more about it.
Real Workflow Examples
Let’s look at some actual workflows you can set up:
Example 1: Blog RSS Feed → ChatGPT → Carousel
This is perfect for automatically turning your blog posts into social media carousels:
The Setup:
- Trigger: RSS by Zapier – monitors your blog’s RSS feed
- Action 1: ChatGPT – processes the blog content
- Action 2: ContentDrips – generates the carousel
Here’s how it works:
Step 1 – RSS Trigger:
- Point it to your blog’s RSS feed
- Triggers whenever you publish a new post
Step 2 – ChatGPT Processing:
- Prompt: “Take this blog post and create a carousel structure with an intro slide, 4 content slides highlighting key points, and a conclusion slide. Format it as JSON for ContentDrips API with this structure: {intro_slide: {heading, description}, slides: [{heading, description}, …], ending_slide: {heading, description}}”
- Input: The blog post content from RSS
Step 3 – ContentDrips Carousel:
- Template ID: Your carousel template ID
- Carousel Input: Advanced mode
- Carousel JSON: Use the JSON output from ChatGPT
- Output: PNG
What happens:
Every time you publish a blog post, it automatically becomes a carousel ready for LinkedIn, Instagram, or Twitter. No manual work needed!
Example 2: Google Sheets → Weekly Tips Carousel
The Setup:
- Trigger: New row in Google Sheets
- Action: ContentDrips Generate Carousel
Your Sheet Columns:
- Week Number
- Tip 1
- Tip 2
- Tip 3
- Tip 4
- Brand Logo URL
ContentDrips Configuration:
- Carousel Input: Quick mode
- Intro Heading: “Weekly Tips #{{Week Number}}”
- Intro Description: “Here are this week’s top tips”
- How many content slides: 4
- Slide 1 Heading: {{Tip 1}}
- Slide 2 Heading: {{Tip 2}}
- Slide 3 Heading: {{Tip 3}}
- Slide 4 Heading: {{Tip 4}}
Understanding Carousel Input Modes
Quick Mode
Perfect when you know exactly what goes where:
- Fill out form fields for each slide
- Super straightforward
- Great for consistent carousel structures
Advanced Mode
When you want full control or dynamic content:
- Use JSON to define your carousel structure
- Perfect for ChatGPT-generated content
- More flexible but requires JSON knowledge
Here’s a simple advanced mode example:
{
  "intro_slide": {
    "heading": "Your Title Here",
    "description": "Your intro text"
  },
  "slides": [
    {"heading": "Point 1", "description": "Details about point 1"},
    {"heading": "Point 2", "description": "Details about point 2"}
  ]
}
Other Cool Ideas
Newsletter Content: RSS feed → ChatGPT → Carousel for newsletter highlights
Event Updates: Eventbrite → Carousel with speaker lineup and schedule
Customer Reviews: Google Forms → Carousel showcasing testimonials
Team Updates: Slack messages → Weekly team highlight carousels
Course Content: When you add a lesson to your course platform → Generate lesson summary carousel
Getting Started
- Sign up for ContentDrips and create your template
- Get your Template ID
- Set up your Zapier account and find our app
- Connect your ContentDrips account with your API token
- Create your first Zap using one of the examples above
- Test it and watch the magic happen!
The best part? Once it’s set up, you can literally forget about it. Your carousels will generate automatically whenever your trigger fires.
Pretty cool, right? Give it a try and let automation handle your carousel creation while you focus on the important stuff.
Need help getting started? Check out our API docs or hit us up if you get stuck!